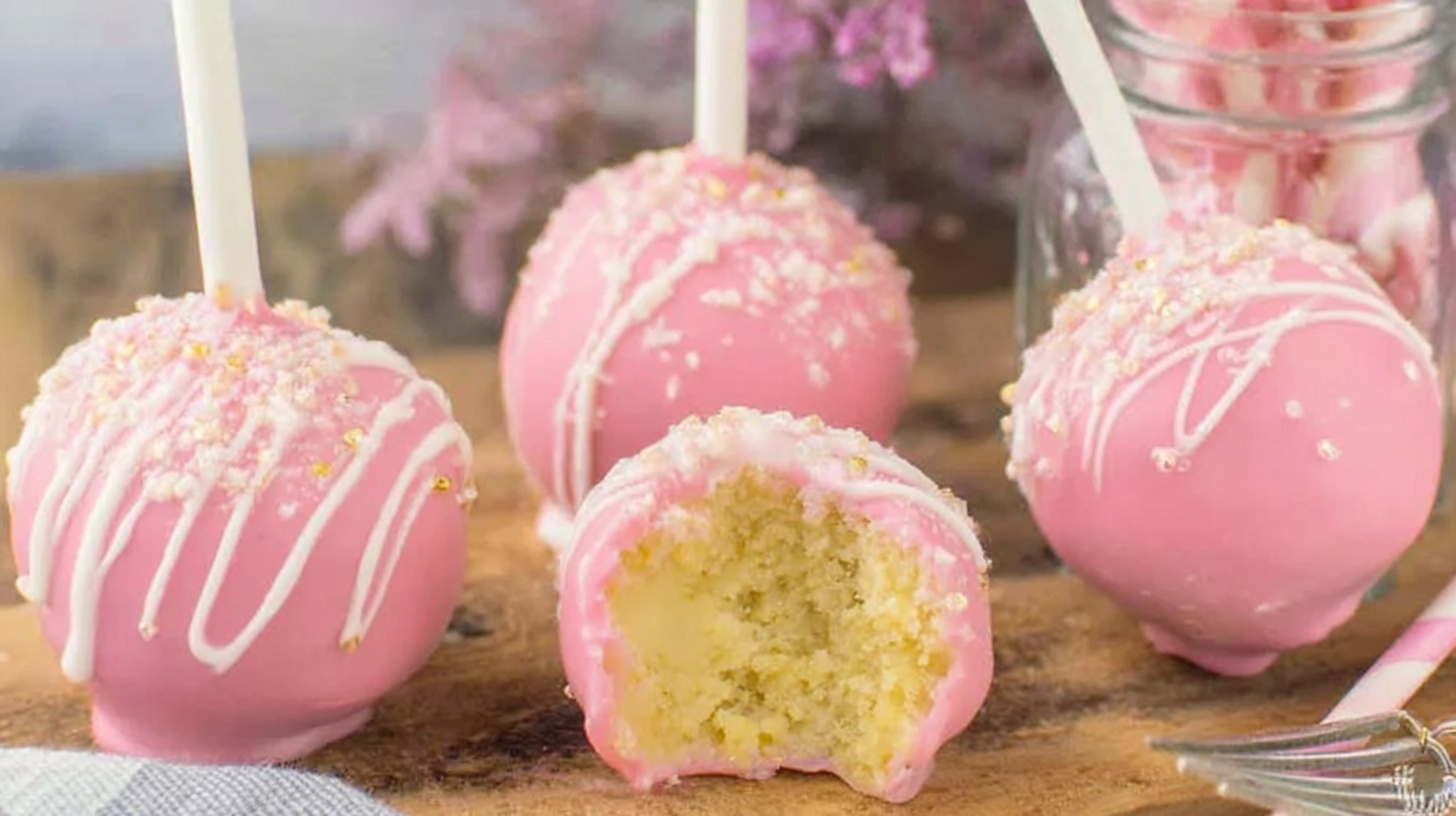
If you’ve ever strolled into Starbucks and treated yourself to one of those adorable cake pops, you know how dangerously good they are. But guess what? You can totally make them at home! This Starbucks Cake Pops recipe brings that same rich, fudgy center and sweet candy shell right to your kitchen—and trust me, they’re just as good (if not better). Whether you’re baking for a party, a cozy night in, or just to satisfy your sweet tooth, this one’s a game-changer. It’s the ultimate Starbucks Cakepop Copycat that’ll make you skip the drive-thru.
Looking for more dessert inspiration? Try our Summer Berry Peach Cheesecake or this gooey High Protein Lava Chocolate Mug Cake.
Table of Contents
Why You’ll Love This Recipe
- Tastes just like the Starbucks version
- Super fun and easy to make
- Perfect for parties, gifting, or snacking
- Customizable with colors and sprinkles
- Freezer-friendly for sweet cravings anytime
- Perfect alongside your Starbucks Pink Drink With Cake Pop
Recipe Snapshot
| Feature | Details |
|---|---|
| Category | Dessert |
| Prep Time | 20 minutes |
| Cook Time | 30 minutes |
| Chill Time | 1 hour |
| Total Time | About 2 hours |
| Servings | About 24 cake pops |
Ingredients
- Boxed vanilla or chocolate cake mix — The base that keeps it simple and tasty. Choose your favorite Starbucks Cake flavor!
- Frosting — Creamy glue that binds the crumbs into soft, fudgy balls.
- Candy melts or white chocolate — For that shiny, crisp coating.
- Vegetable shortening or coconut oil — Helps smooth out the coating.
- Sprinkles — Because life is better with sprinkles. Think Starbucks Birthday vibes!
- Lollipop sticks — To turn these into fun, portable treats.
👉 Check out the full recipe card below for measurements and printable instructions!
How to Make Starbucks Cake Pops
Step 1: Bake and Cool the Cake
Prepare your cake according to the package instructions. Once it’s baked, let it cool completely. You want it fully cooled so it crumbles nicely without getting mushy. For the classic Starbucks Cake Pops Recipe Birthday Cake, go with vanilla and pink frosting!
Step 2: Crumble and Mix
Break the cooled cake into fine crumbs in a large bowl. Add frosting little by little, mixing until the texture resembles cookie dough. You want it moist enough to hold together but not overly gooey.
Step 3: Shape the Balls
Scoop out tablespoon-sized portions and roll them into smooth balls. Place them on a parchment-lined tray and chill in the freezer for 30 minutes. This makes the Cake Pop Recipe Easy and mess-free.
Step 4: Dip and Decorate
Melt the candy coating with a bit of shortening or oil for smoothness. Dip one end of each stick into the melted coating, then push it halfway into each cake ball. Dip the whole pop into the coating, gently tap off the excess, and decorate with sprinkles. If you’re channeling the Starbucks Pink Cake Pops Recipe, go heavy on the pink and sparkle!
Step 5: Set and Serve
Stick the dipped pops upright into a foam block or a box with holes. Let them set completely—about 30 minutes. Now they’re ready to serve or store!
Pro Tips for Perfect Cake Pops
- Chill the cake balls well before dipping to prevent slipping.
- Use a deep mug for dipping—it makes the coating easier.
- Don’t overmix the frosting; a little goes a long way.
- Let the coating cool slightly before dipping to avoid cracks.
Flavor Variations
- Swap vanilla cake for red velvet, chocolate, or funfetti.
- Use flavored frostings like cream cheese or Nutella.
- Try dark or colored candy melts for seasonal themes.
- Recreate other Copycat Starbucks Cake Pops with creative mix-ins!
Serving Suggestions
- Perfect party favor in cute wrappers
- Adorable addition to dessert tables
- Wrapped as a sweet homemade gift
- Pair with your fave coffee or Starbucks Pink Drink With Cake Pop for the full experience
Make-Ahead and Storage
You can make these a day or two ahead and keep them in the fridge. They’re actually better once chilled!
Leftovers
Store extras in an airtight container in the fridge for up to a week.
Freezing
Freeze undecorated cake balls for up to 2 months. Just thaw, dip, and decorate when you’re ready!
Reheating
No reheating needed—just pop one in your mouth straight from the fridge or let it come to room temp.
FAQ
Can I use homemade cake instead of boxed mix?
Absolutely! Any cake recipe you love works here.
Why are my cake pops falling off the stick?
They might need more chilling time, or the coating wasn’t set before standing them up.
Can I use chocolate chips instead of candy melts?
Yes, but add a bit of oil to help with smooth dipping.
How long do they last?
Up to 7 days in the fridge, or freeze for longer storage.
Final Thoughts
Making this Starbucks Cake Pops recipe at home is way easier than you’d think—and way more satisfying too. They’re rich, bite-sized, and dangerously poppable. Once you try these, you’ll never need the coffee shop version again. Whether you’re celebrating a Starbucks Birthday, making a fun snack, or recreating your favorite Starbucks Cakepop Copycat, this recipe hits the sweet spot. So grab your sprinkles, and let’s get poppin’!

Starbucks Cake Pops
Ingredients
Equipment
Method
- Bake the cake according to the package instructions. Let it cool completely.
- Crumble the cooled cake into a large bowl. Add frosting a bit at a time and mix until it forms a dough-like consistency.
- Roll mixture into 1-inch balls and place on a parchment-lined tray. Freeze for 30 minutes.
- Melt candy melts with shortening in a microwave-safe bowl until smooth.
- Dip one end of each lollipop stick into the coating, then insert into cake balls. Dip each pop fully, tap off excess, and decorate with sprinkles.
- Stand cake pops upright in a foam block or box and let coating set completely. Enjoy!

