
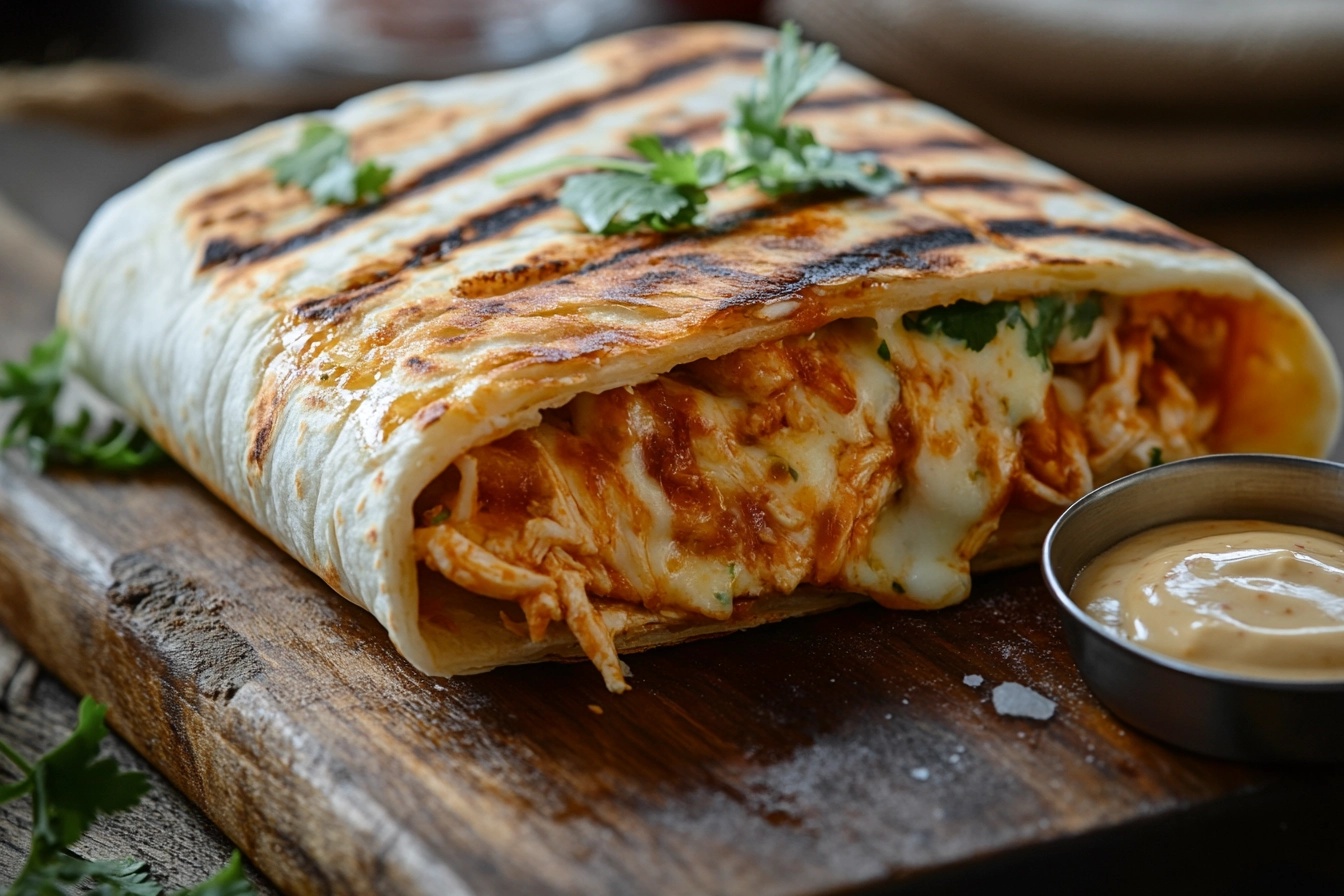
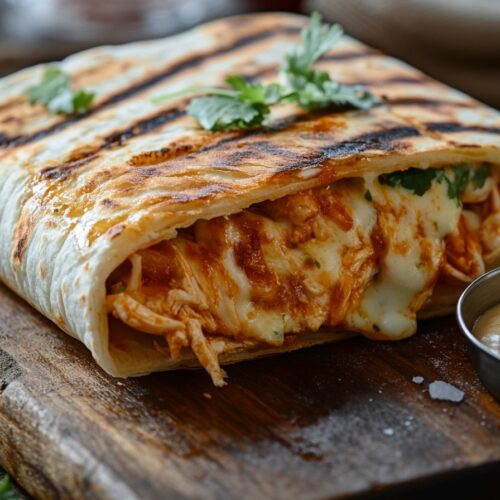
These Cheesy Garlic Chicken Wraps are what comfort food dreams are made of—tender seasoned chicken, garlicky cream cheese spread, melty mozzarella, and a golden toasted tortilla wrap. They’re quick to make, ultra satisfying, and perfect for meal prep or a last-minute meal that feels way fancier than it is. Whether you’re grabbing lunch on the go or serving a crowd, trust me, everyone’s going to ask for seconds.
Table of Contents
Why You’ll Love This Recipe
- 🧄 Packed with bold garlic flavor (but not overpowering!)
- 🧀 Super cheesy with melty layers in every bite
- 🐔 Uses juicy, seasoned chicken (great way to use leftovers!)
- 🌯 Toasted wrap = golden, crispy perfection
- ⏱️ Ready in under 30 minutes
- 🔥 Great for meal prep or freezer-friendly lunches
- 👶 Kid-approved and adult-craved
Recipe Snapshot
| Feature | Details |
|---|---|
| Category | Lunch |
| Cuisine | American, Fusion |
| Prep Time | 10 minutes |
| Cook Time | 10-15 minutes |
| Total Time | 25 minutes |
| Servings | 4 wraps |
| Key Ingredients | Chicken, garlic, cheese, tortillas |
| Special Tools | Skillet or panini press |
Ingredients
Here’s what you’ll need to make these cheesy wraps sing. Measurements are in the recipe card below!
- Cooked chicken – Shredded or chopped; rotisserie chicken works great here.
- Garlic cloves – Freshly minced for that punchy aroma and flavor.
- Cream cheese – Softened and mixed with garlic for a creamy base layer.
- Mozzarella cheese – For that iconic cheese pull (can sub with Monterey Jack).
- Cheddar cheese – Adds sharpness and contrast to the creaminess.
- Flour tortillas – Large burrito-size wraps work best for rolling and toasting.
- Butter or oil – For toasting the wraps to golden, crispy perfection.
- Seasonings – Think Italian seasoning, salt, pepper, and a touch of paprika.
📝 Scroll to the recipe card at the bottom for exact measurements and printable instructions!
How to Make Cheesy Garlic Chicken Wraps

1. Make the Garlic Cream Cheese Spread
In a small bowl, mix the softened cream cheese with minced garlic, salt, pepper, and Italian seasoning. This is your flavor-packed base—don’t skip this step!
2. Prepare the Chicken Filling
In another bowl, toss your shredded chicken with a little olive oil, garlic powder, paprika, and a pinch of salt. Warm it up slightly if it’s cold from the fridge.
3. Assemble the Wraps
Lay a tortilla flat. Spread a generous spoonful of garlic cream cheese over the center, then top with chicken, a sprinkle of mozzarella, and some shredded cheddar. Resist the urge to overfill—we need to roll!
4. Roll It Up
Fold in the sides, then roll up tightly like a burrito. Repeat with remaining tortillas and filling.
5. Toast to Perfection
Heat butter or oil in a skillet over medium heat. Place the wraps seam-side down and cook until golden brown and crispy, about 2–3 minutes per side. A panini press also works like a dream here!
Pro Tips for Wrap Success
- Warm your tortillas first—10 seconds in the microwave makes them easier to fold.
- Don’t skip the garlic cream cheese spread. It’s what makes these wraps next-level.
- Use two cheeses for the perfect balance of gooey melt and sharp bite.
Flavor Variations
- Spicy kick? Add jalapeños or crushed red pepper.
- Veggie boost? Toss in baby spinach, roasted red peppers, or caramelized onions.
- Different proteins? Try it with turkey, steak strips, or even crispy tofu.
Serving Suggestions
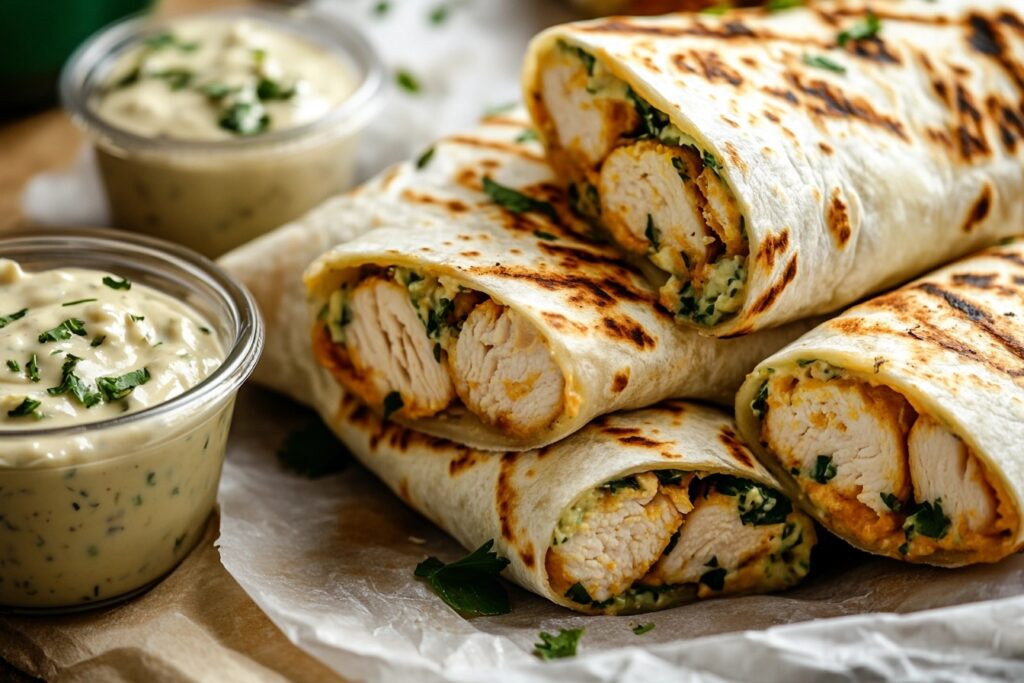
- Slice in half and serve with a side of ranch, garlic aioli, or Yum Yum Sauce for a tangy, creamy dip that takes these wraps to the next level.
- Pair with a light salad, garlic roasted potatoes, or even a cup of tomato soup.
- Or go all-in on the comfort food and serve alongside this Chicken Bacon Ranch Pasta Salad—trust me, it’s the dream team of creamy, smoky, and savory flavors.
- Make mini versions for party appetizers or lunchboxes!
Make-Ahead & Storage
- Make-Ahead: Assemble and wrap (don’t toast), then refrigerate for up to 24 hours before toasting.
- Storage: Store cooked wraps in an airtight container in the fridge for up to 3 days.
Leftovers
Reheat in a skillet to bring back that crispy outside! Microwave works too, but the texture won’t be quite as magical.
Freezing
Wrap un-toasted burritos tightly in foil or plastic, then place in a freezer-safe bag. Freeze for up to 2 months. Toast from frozen or thaw overnight in the fridge.
Reheating
- Skillet (best method): Toast each side for 3–4 minutes until warmed through.
- Oven: Bake at 375°F (190°C) for 10–12 minutes.
- Microwave: 1–2 minutes, but note the wrap will be soft, not crispy.
FAQ
Can I use pre-cooked or rotisserie chicken?
Absolutely! It’s a huge time-saver and works perfectly for this recipe.
What’s the best cheese for melty wraps?
Mozzarella for gooeyness + cheddar for flavor = chef’s kiss. Monterey Jack or provolone are also great.
How do I keep the wraps from getting soggy?
Cool the chicken slightly before assembling, and avoid overstuffing. Toasting also helps seal everything in.
Can I make these dairy-free?
Sure thing! Use dairy-free cream cheese and shredded vegan cheese options.
Cheesy Garlic Chicken Wraps
Equipment
- Skillet
- Panini Press
Ingredients
Wrap Components
- 4 large flour tortillas burrito-size
- 2 cups cooked chicken shredded or chopped
- 2 tbsp olive oil
- 1/2 tsp garlic powder
- 1/2 tsp paprika
- salt and pepper to taste
Garlic Cream Cheese Spread
- 4 oz cream cheese softened
- 2 cloves garlic minced
- 1/2 tsp Italian seasoning
Cheese
- 1 cup mozzarella cheese shredded
- 1 cup cheddar cheese shredded
- 2 tbsp butter or oil for toasting wraps
Instructions
- In a small bowl, mix softened cream cheese with minced garlic, Italian seasoning, salt, and pepper. Set aside.
- In another bowl, toss shredded chicken with olive oil, garlic powder, paprika, and a pinch of salt. Warm slightly if cold.
- Lay a tortilla flat. Spread a spoonful of garlic cream cheese in the center. Add chicken, mozzarella, and cheddar cheese. Do not overfill.
- Fold in the sides of the tortilla and roll it up tightly like a burrito.
- Heat butter or oil in a skillet over medium heat. Place wraps seam-side down and cook for 2–3 minutes per side until golden brown and crispy.