
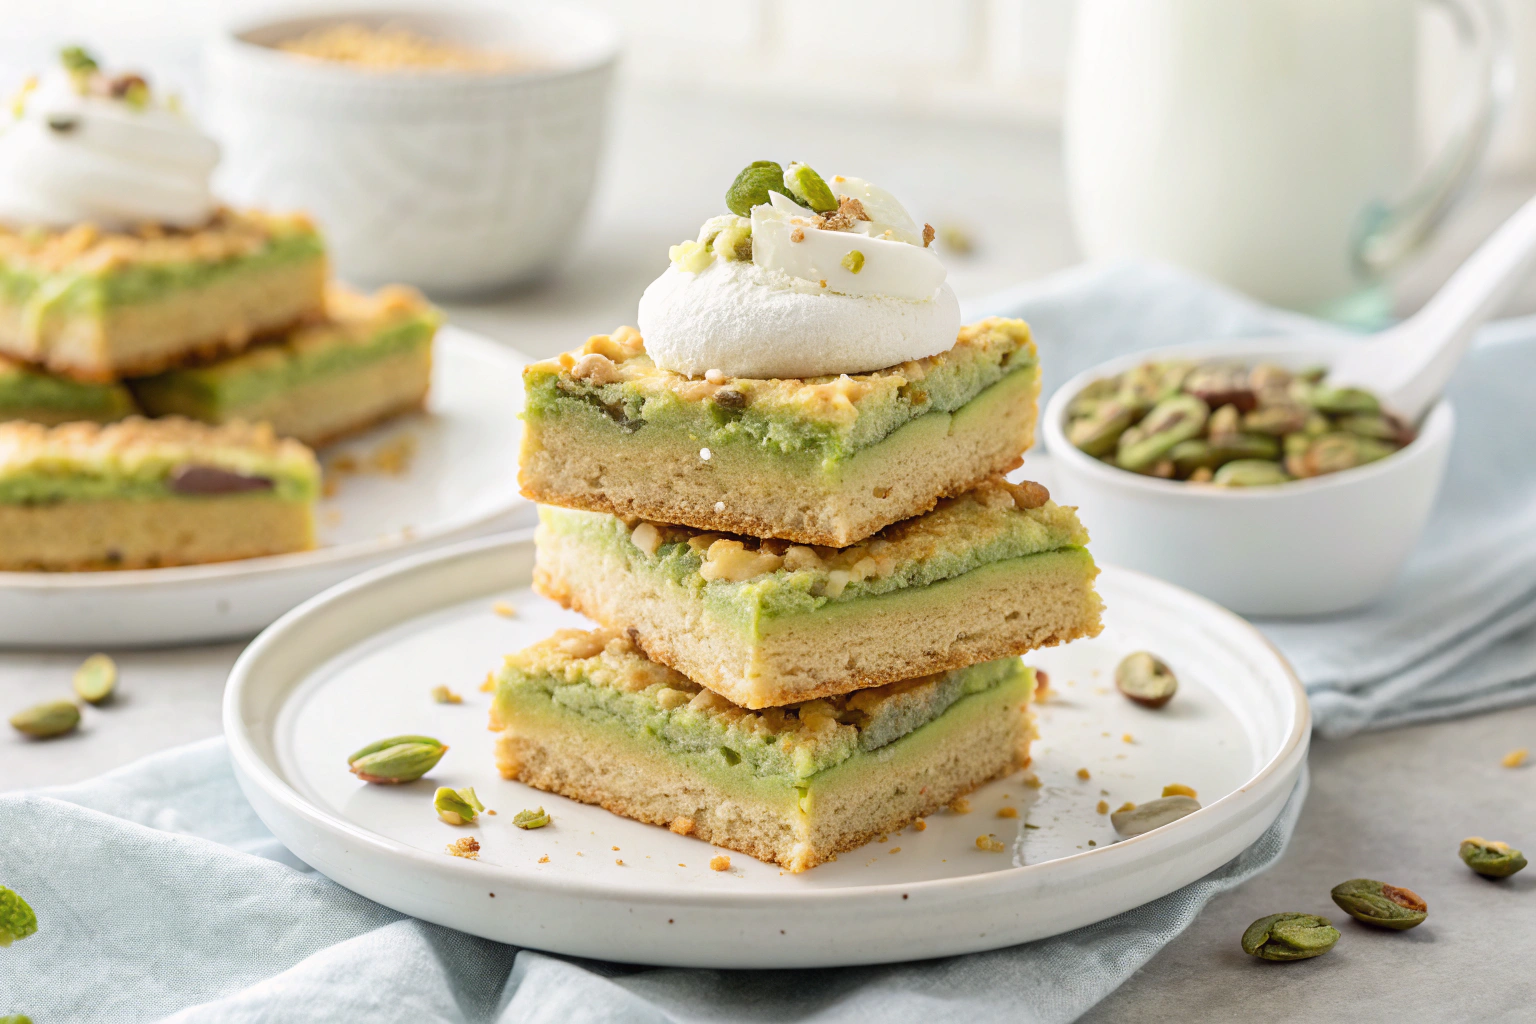
These Pistachio Dream Cookie Bars are like a nostalgic blast from a dessert table at a vintage potluck—only better. With a buttery cookie crust, a dreamy pistachio mousse center, and a fluffy whipped topping with a sprinkle of crunchy pistachios, every bite is creamy, nutty, and perfectly sweet. They’re cool, refreshing, and shockingly easy to make. Perfect for spring gatherings, holiday trays, or anytime you’re craving something light and luscious. Trust me, you’re going to want to stash a few of these in the back of the fridge just for yourself.
Table of Contents
Why You’ll Love This Recipe
- No-bake filling makes this recipe super quick and easy
- Dreamy layers that melt in your mouth with a mix of creamy, fluffy, and crunchy textures
- Nostalgic vibes—like those pistachio fluff salads Grandma used to make, but in bar form
- Make-ahead friendly and perfect for chilling overnight
- Surprise crowd-pleaser—even non-pistachio fans will swoon
You’ll definitely want to check out my Chocolate Covered Peanuts Guide! It’s crunchy, sweet, and totally beginner-friendly—just like these dreamy cookie bars.
Recipe Snapshot
| Feature | Details |
|---|---|
| Category | Dessert |
| Prep Time | 20 minutes |
| Chill Time | 2 hours |
| Total Time | 2 hours 20 minutes |
| Servings | 12 bars |
| Key Flavors | Pistachio, vanilla, buttery cookie crust |
| Skill Level | Easy-peasy |
Ingredients
For the Crust:
- All-purpose flour – Your cookie crust foundation; it gives structure and a little chew.
- Unsalted butter (cold and cubed) – Adds richness and creates that shortbread-like texture.
- Granulated sugar – Sweetens the base and helps it brown up just right.
For the Filling:
- Instant pistachio pudding mix – The magical base for the creamy layer, full of nutty sweetness and that signature pale green color.
- Cold milk – Activates the pudding and gives it a velvety texture.
- Whipped topping (like Cool Whip) – Lightens up the filling and makes it cloud-like and dreamy.
For the Topping:
- More whipped topping – For a pillowy finish on top of the pistachio layer.
- Chopped pistachios – Adds crunch, color, and a fancy touch that says “yes, I did make these from scratch!”
Check out the full recipe card below for measurements and printable instructions!
How to Make Pistachio Dream Cookie Bars

Step 1: Make the Crust
Preheat your oven to 350°F (175°C). In a mixing bowl, combine flour and sugar. Cut in the cold, cubed butter using a pastry cutter or your hands until the mixture resembles coarse crumbs. Press this into a parchment-lined 9×9-inch baking pan and bake for 18–20 minutes, until lightly golden. Let it cool completely.
Step 2: Mix the Filling
In a medium bowl, whisk the instant pistachio pudding mix with the cold milk until thickened, about 2 minutes. Gently fold in the whipped topping until smooth and creamy. Spread this dreamy green layer evenly over the cooled crust.
Step 3: Add the Topping
Spread the remaining whipped topping over the pistachio filling. Smooth it out with a spatula and sprinkle with chopped pistachios for that picture-perfect finish.
Step 4: Chill and Set
Refrigerate the bars for at least 2 hours to set. This is when the magic happens—the layers firm up just enough to slice beautifully but stay soft and luscious.
Step 5: Slice and Serve
Cut into squares or bars and serve chilled. Try not to eat the whole pan (or do, I won’t judge!).
Pro Tips
- Use cold butter for the crust to get that perfect crumbly texture.
- Let the crust cool completely before adding the filling to avoid melting the layers.
- For cleaner cuts, run your knife under hot water and wipe between slices.
- Want extra texture? Add crushed graham crackers to the crust or a sprinkle of sea salt on top!
Flavor Variations
- Strawberry Dream Bars: Swap pistachio pudding for strawberry and top with fresh berries.
- Chocolate Pistachio Bars: Add mini chocolate chips to the filling for a nutty-choco twist.
- Lemon-Pistachio Bars: Add a splash of lemon zest to the filling for bright, citrusy contrast.
Serving Suggestions

- Serve chilled on a dessert platter with a mix of pastel treats for a spring brunch.
- Pair with hot coffee or tea to balance the cool, creamy texture.
- Top each bar with a tiny mint leaf for a fresh pop at parties!
Make-Ahead & Storage
These bars are amazing for making ahead. Just assemble the whole thing and pop it in the fridge—up to 24 hours in advance works great.
Leftovers
Store leftover bars in an airtight container in the refrigerator for up to 4–5 days. That is, if they even last that long…
Freezing
Yes! You can freeze them. Place bars in a single layer in a freezer-safe container, or layer them with parchment paper. Freeze for up to 2 months. Thaw overnight in the fridge before serving.
Reheating
No need to reheat—these bars are meant to be served cold! Just let them chill, slice, and enjoy.
FAQ
Can I use homemade whipped cream instead of Cool Whip?
Absolutely! Just whip up heavy cream with a little powdered sugar until stiff peaks form. Keep in mind it may not hold quite as long as store-bought topping.
Can I double the recipe?
Yes! Use a 9×13-inch pan and double all the ingredients. Perfect for potlucks or parties.
Can I use a different pudding flavor?
Totally—vanilla, lemon, or white chocolate would all be dreamy. Just keep the base structure the same.
Why didn’t my pudding layer set?
Make sure you’re using instant pudding (not cook-and-serve), and that your milk is very cold. Also, don’t skimp on the chill time!
Final Thoughts
There’s just something about these Pistachio Dream Cookie Bars—they’re light, luscious, and irresistibly nostalgic. Whether you’re baking for a spring celebration, a cozy Sunday treat, or just because you love pistachio (same!), this recipe is a winner every time. Go ahead, make a batch and stash a few for yourself… I won’t tell.

Pistachio Dream Cookie Bars
Equipment
- Mixing Bowl
- 9×9-inch Baking Pan
- Oven
- Spatula
Ingredients
Crust
- 1 cup all-purpose flour
- 1/2 cup unsalted butter cold and cubed
- 1/4 cup granulated sugar
Filling
- 1 package instant pistachio pudding mix
- 1 1/2 cups cold milk
- 1 container whipped topping
Topping
- 1 cup whipped topping
- 1/4 cup chopped pistachios
Instructions
- Preheat oven to 350°F (175°C). Combine flour and sugar in a bowl. Cut in cold butter until mixture resembles coarse crumbs.
- Press the mixture into a parchment-lined 9×9-inch pan and bake for 18–20 minutes until lightly golden. Let cool completely.
- In a separate bowl, whisk the pistachio pudding mix with cold milk until thickened, about 2 minutes.
- Fold in whipped topping until smooth. Spread over the cooled crust evenly.
- Spread additional whipped topping over the pistachio layer and smooth it out.
- Sprinkle with chopped pistachios and refrigerate for at least 2 hours to set.
- Slice into bars and serve chilled.