
Table of Contents
Ah, the scent of warm apples mingling with cinnamon—there’s nothing like it to bring back memories of family gatherings and cozy afternoons spent in the kitchen! I stumbled upon the idea of making Easy Apple Pie Filling during one such gathering. My grandma’s kitchen was a whirlwind of chatter, laughter, and the divine smell of baking. When her classic apple pie recipe demanded more time than we had, I knew we needed a shortcut. Thus, Easy Apple Pie Filling was born!
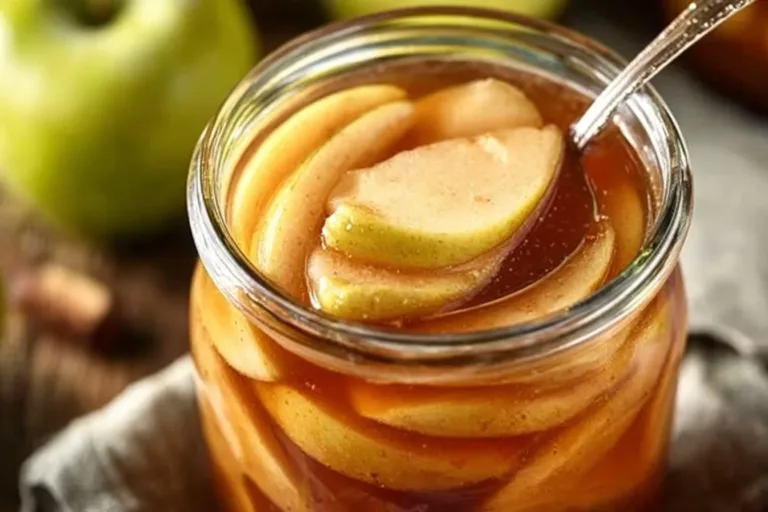
With each spoonful of this sweet, spiced filling, you can practically feel the comfort of home surrounding you. Juicy apples nestled in a warm, sweet embrace fill your heart as much as your tummy. It’s quick and simple, and trust me—you’ll be making it for every gathering from here on out!
Why You’ll Love This Recipe
- Super Easy & Quick: With just a few simple steps, this recipe is perfect for beginners or anyone needing a quick dessert solution.
- Versatile & Flavorful: Use it for pies, crumbles, or even dolloped on pancakes or oatmeal!
- Healthy Twist: Packed with fiber from apples, it makes a wholesome treat for your family.
- Crowd-Pleasing Delight: Everyone loves the classic taste of apple pie, and this filling surely won’t disappoint!
- Cozy Kitchen Vibes: The smell of this recipe bubbling on the stove will wrap you in warmth and nostalgia.
Ingredients
- 6 cups of peeled and sliced apples: The star of the show! Use a variety like Granny Smith and Fuji for a nice flavor balance.
- 1 cup of sugar: This sweetens the deal! Use less if your apples are super sweet or swap it out for honey for a healthier option.
- 2 tablespoons of lemon juice: This adds a zesty brightness and helps prevent browning—keeping your apples looking fresh and vibrant!
- 2 teaspoons of ground cinnamon: Oh, the warmth! Cinnamon adds that cozy, fall flavor we all adore.
- 1/4 teaspoon of salt: A pinch of salt enhances sweetness, rounding out the flavors beautifully.
- 2 tablespoons of unsalted butter: This adds richness; feel free to substitute with coconut oil if you prefer a dairy-free option!
- 1 tablespoon of cornstarch (optional for thickness): This is for those who like their filling thick and gooey. Totally your call!
Full recipe card is below.
How to Make It
1. Combine the Ingredients
In a large saucepan, combine the sliced apples, sugar, lemon juice, cinnamon, and salt. The minute you toss everything together, you’ll hear that delightful crunch of apples. Let those cozy aromas fill your kitchen—trust me, you’ll be hooked!
2. Cook the Mixture
Now, cook over medium heat, stirring occasionally, until the apples are softened, which will take about 10-15 minutes. Watch as they become tender and release their sweet juices, creating a beautiful, syrupy sensation. Mmm, the smell is just heavenly!
3. Thicken It Up (Optional)
If you want a thicker filling, stir in the cornstarch and continue cooking for another 2-3 minutes until the mixture thickens. Give it a little stir and watch those saucy apples become even more delectable.
4. Finish with Butter
Remove from heat and stir in the butter until melted and well combined. This step is like giving your filling a silky hug, making it creamy and rich!
5. Cool and Use
Let it cool slightly before using in your favorite pie or dessert recipe. As it cools, it will thicken up a bit more.
Pro Tips for Success
- Choose your apples wisely! A mix of tart and sweet gives the best flavor.
- Make sure to peel and slice your apples evenly for consistent cooking.
- If you’d like to prepare ahead, you can make this filling a day in advance. Just store it in the fridge!
Flavor Variations
- Seasonal Twists: Try adding cranberries or pears for a festive touch.
- Spicy Add-Ins: A pinch of nutmeg or ginger can jazz up the flavor!
- Substitutes: Use maple syrup instead of sugar for a deliciously different sweetness.
Serving Suggestions
This flavorful fill can shine in so many recipes! Spoon it into a pre-baked pie crust, top with crisp crumble, or serve it warm over vanilla ice cream. A drizzle of caramel sauce never hurt anyone either! Pair it with a warming cider or a cozy cup of tea for that true autumn vibe.
Make-Ahead & Storage
You can prepare this filling a day in advance—just let it cool completely and store it in an airtight container in the fridge. It’ll last about 3-4 days!
Leftovers
If you have any leftovers (which I doubt you will, but just in case!), spoon it over yogurt or mix it into oatmeal for a delicious breakfast treat!
Freezing
Yes, this apple pie filling can definitely be frozen! Just let it cool completely, then transfer to a freezer-safe container. When you’re ready for a slice of heaven, thaw it in the fridge overnight or warm it slightly on the stove.
Reheating
For reheating, I recommend using a skillet on the stovetop over low heat for about 5-10 minutes. Stir occasionally until warmed through, or you can pop it in the microwave for quick reheat magic!
FAQs
Can I use store-bought apples?
Absolutely! Just make sure they’re fresh and free of blemishes for the best flavor.
What types of apples are best for this filling?
A mix of sweet (like Fuji or Honeycrisp) and tart (like Granny Smith) gives a lovely balance!
Can I sweeten this recipe with something other than sugar?
Yes indeed! Honey, maple syrup, or agave syrup work great as sweeteners.
How do I prevent my filling from being too runny?
Using cornstarch as a thickener will help, plus ensure you’re cooking it long enough to reduce excess liquid.
Final Thoughts
There’s something truly magical about crafting a classic dish like Easy Apple Pie Filling—it’s both a cozy tradition and a creative outlet. Remember to enjoy the process; let the warm scents wrap around you like a soft blanket and let those memories flood back, as they surely will! Whip this up, and watch your family gather, drawn in by that irresistible aroma. Happy baking, my friends! 🥧❤️